https://www.youtube.com/watch?v=MHFqQjdH0Pw&list=PLoHLpVCC9RmMMmW5eP1aAyJrTjxd46rx_&index=3
HLSL입력을 위해 Custom Node를 추가하고 입력을 2개 만들어 준다. Output Type은 Float2로 해준다.

dim이라는 입력을 추가해서 0.5이하의 UV만 출력해보자.
float2 tex=frac(float2(uv.x * grid.x, uv.y*grid.y));
if(tex.x >=dim.x || tex.x <= -dim.x || tex.y >= dim.y || tex.y <= -dim.y)
   return(0);
return(1);
Output Type을 float3로 해서 white로 만들자.


Custom Node에 colBrick과 colMortar 입력을 추가하고
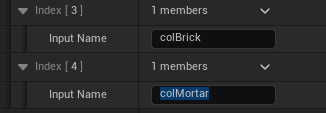
3Vector를 연결해주고 HLSL 코드를 변경해준다.
float2 tex=frac(float2(uv.x * grid.x, uv.y*grid.y));
if(tex.x >=dim.x || tex.x <= -dim.x || tex.y >= dim.y || tex.y <= -dim.y)
   return(colMortar);
return(colBrick);
모서리부분의 UV가 잘 맞지 않는데 그리드의 XY가 동일해야하고, offset을 추가해서 조정해보자 우선 입력에 offset을 추가하고

HLSL 코드에 offset을 추가하자.
float2 tex=frac(float2(uv.x * grid.x + offset.x, uv.y*grid.y + offset.y));
if(tex.x >=dim.x || tex.x <= -dim.x || tex.y >= dim.y || tex.y <= -dim.y)
   return(colMortar);
return(colBrick);

Blend Mode를 Masked로 바꿔

패턴을 뒤집어 Mask에 연결하고

다양한 연출을 할수도 있다.
